Playground Driven Development (Part 1)
See how Xcode Playgrounds can really accelerate your developments.
This is the first part of a serie on Xcode Playgrounds.
You can find the code for this tutorial in the following repository:
https://github.com/giln/Playgrounds-Driven-Development-Part1.git
A few years ago, when i was coding in Objective C, i discovered a fantastic tool called DyCi.
DyCi is a Dynamic Code Injection tool for iOS. You can watch the Tic Tac Toe Demo to understand how usefull it can be:
DyCi was bringing Hot Reload to iOS development. I really loved the tool and used it all the time for my developments. When we started switching to Swift, i tried to find an equivalent to DyCi. I looked into Injection but at the time i didn't find it to be reliable enough (maybe i should take a new look at it now to see if newest version is more reliable).
At the same time Apple released Xcode Playgrounds. That's when i realized it could be used for UI prototyping which is especially usefull if like me you find it much cleaner to write everything by code and don't use Interface Builder. Also Teams like Kickstarter started sharing their experience and tips with Playgrounds Driven Development.
So how does it work?
I'll show how the app from my previous post MVC Composition was built using Playground Driven Development.
.......... 
Start New project
Create a new project using Xcode.
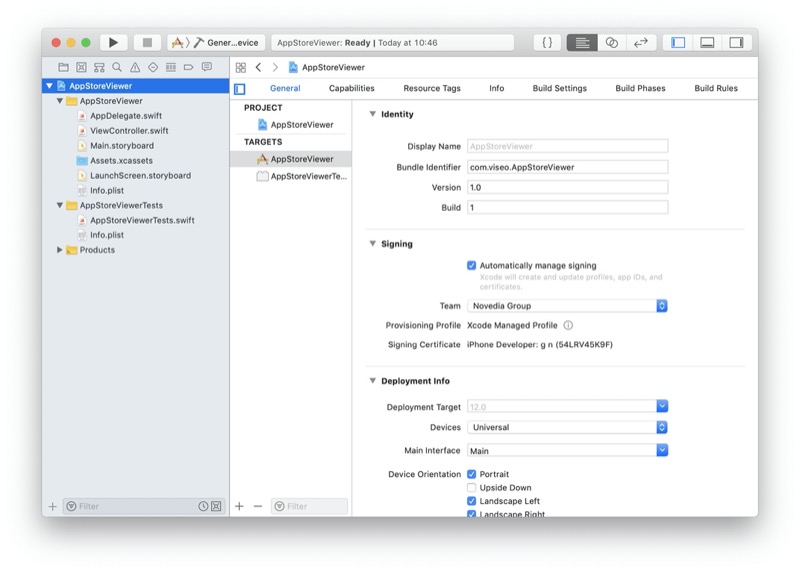
Because i don't use them i removed the storyboard and switched to View Code.
However, PDD is perfectly compatible with Storyboards so this step is absoluteley not necessary.
Next step you need to create a workspace (File -> Save as Workspace) The workspace is important to allow using source code from your project in your Playgrounds.
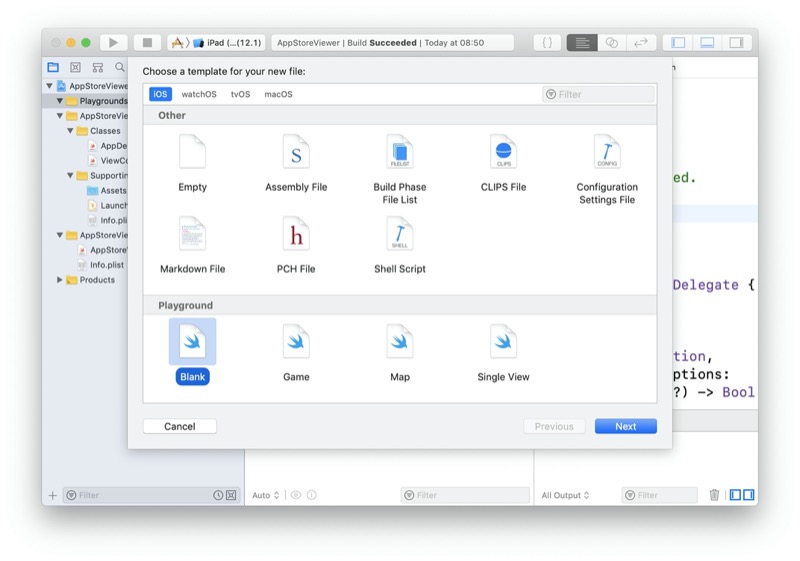
Close your poject and open up your Workspace and create a Playgrounds Directory. This directory will contain your playground files. Create a new blank playground in that directory:
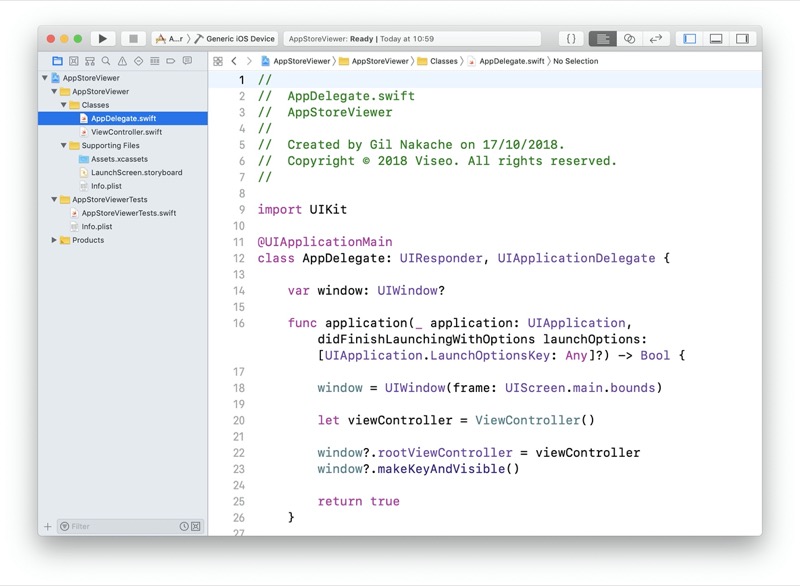
We are now ready to start writing our first code!
import UIKit
// Playground Support will allow us to use Live View to display our UI directly in Xcode Playgrounds
import PlaygroundSupport


class ListViewController: UIViewController {

    override func viewDidLoad() {
        super.viewDidLoad()

        view.backgroundColor = .blue
    }
}

// Here we assign the View controller to the Playground's live View
PlaygroundPage.current.liveView = ListViewController()
Copy and paste the above code in your playgrounds.
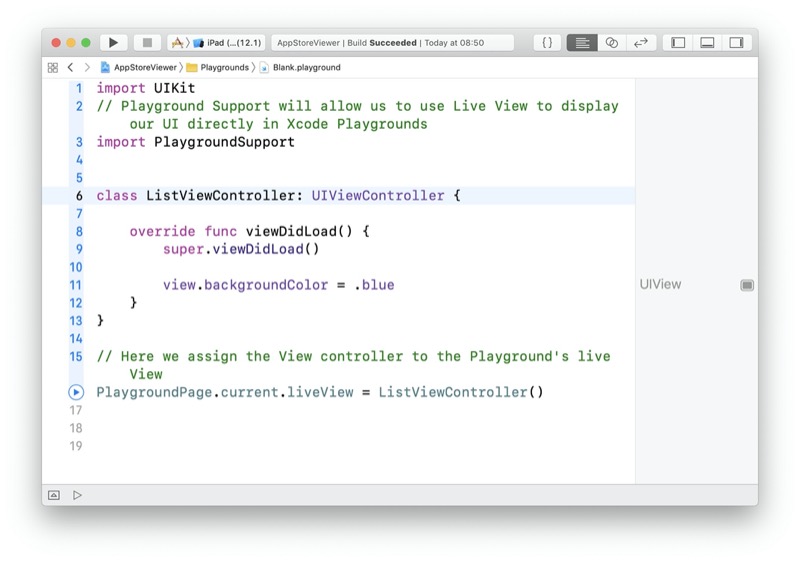
To run a playground you can hit the blue run button in the margin. This will execute the code up to the line you selected. This is new with Xcode 10. In previous versions, playgrounds were continuously run and each time you modified the source code it would reevaluate making things sometimes a bit slow.
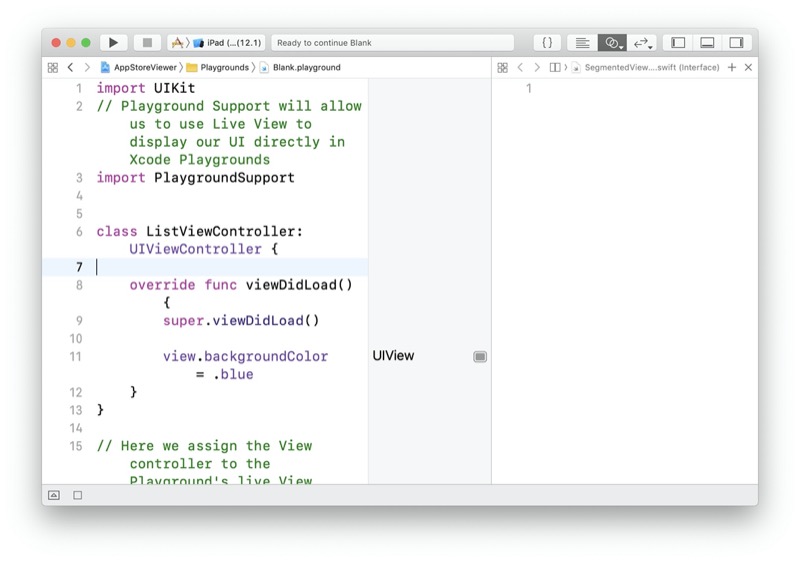
So now when you make changes to your code, you have to rerun again by hitting the blue button or using the keyboard shortcut (Cmd-Shift-Enter).
As you can see in the above screenshot, i canno't see my ViewController yet. To see it i need to show the assistant editor and select the live view:
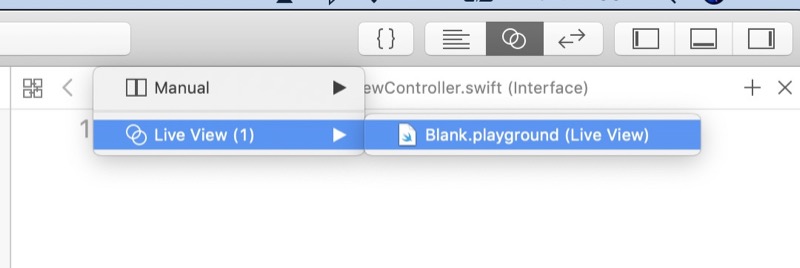

Et voila!
Our view controller is now visible in the live View part of Xcode Playgrounds. What's interesting is that since Xcode 9.2 Live views allow user interaction, so you can interact with it like with the simulator.
First View Controller
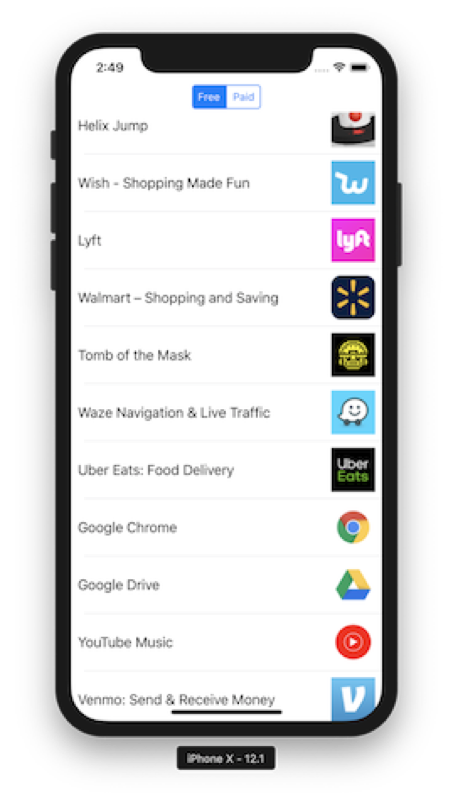
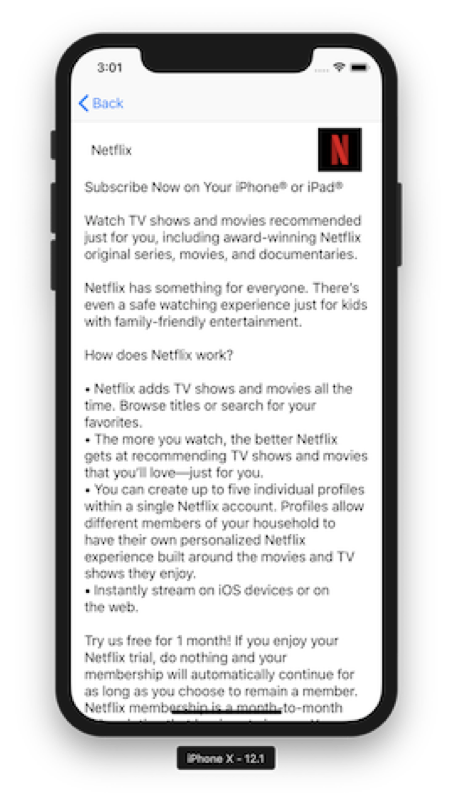
We are now going to build the first view controller in our App. This ViewController will display a list of the top App Store applications as listed in Apple feed:
https://itunes.apple.com/us/rss/toppaidapplications/limit=100/json
However we won't dive into downloading and parsing the json yet.
We want to build a reusable TableViewController that can display a list of anything with a name and and image.
We start by writing a protocol. We use it to decouple our ViewController from the model. This allows to make the ViewController more reusable.
public protocol Listable {
    var text: String { get }
    var imageURL: String { get }
}
Then we write our ViewController code:
public class ListViewController: UITableViewController {

    // MARK: - Public variables

    public var list = [Listable]() {
        didSet {
            tableView.reloadData()
        }
    }

    // MARK: - Lifecycle

    override public func viewDidLoad() {
        super.viewDidLoad()

        tableView.estimatedRowHeight = 50
        tableView.rowHeight = UITableView.automaticDimension
        tableView.register(UITableViewCell.self, forCellReuseIdentifier: "Default")

    }

    // MARK: - UITableViewDataSource

    override public func tableView(_ tableView: UITableView, numberOfRowsInSection section: Int) -> Int {
        return list.count
    }

    override public func tableView(_ tableView: UITableView, cellForRowAt indexPath: IndexPath) -> UITableViewCell {

        let cell = tableView.dequeueReusableCell(withIdentifier: "Default", for: indexPath)

        let element = list[indexPath.row]
        cell.textLabel?.text = element.text
        // We'll manage the image later

        return cell
    }
}
The code is very simple. It takes a list of "Listable" elements as an input. When the input is received, it reloads the tableView. As explained in my previous post (MVC Composition), this kind of ViewController should not fetch it's data itself. The fetching of the data is the responsibility of another component. So this ViewController is just passive and waits for it's data.
This is going to be nice because we can begin testing our ViewController in the Playgrounds without writing much more code.
We just need to create a struct that conforms to Listable protocol and pass an array of that struct to our ViewController:
// Structure to test our viewController
public struct TestApp: Listable {
    public let text: String
    public let imageURL: String
}

// Array of applications
let testApplications = [
    TestApp(text: "First App", imageURL: ""),
    TestApp(text: "Second App", imageURL: ""),
    TestApp(text: "Third App", imageURL: ""),
]

let listViewController = ListViewController()

// Here we assign the View controller to the Playground's live View
PlaygroundPage.current.liveView = listViewController

listViewController.list = testApplications
Hit Cmd-Shift-Enter to run the playgrounds and see the result:
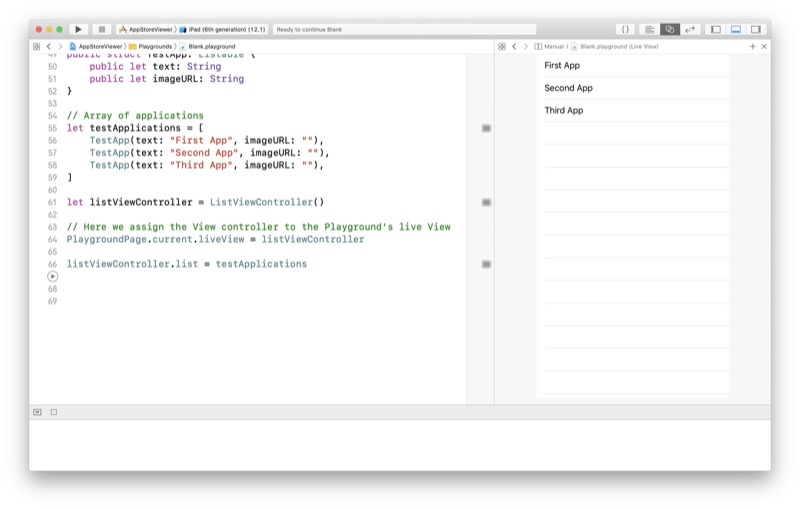 You can even scroll the list if you want.
This is still very basic, but it allows us to start writing UI components and test them completely independently in a simple Playground.
In part 2 of this Playground Driven Development serie, i will show how nice Playgrounds can play with Test Driven Development.
You can even scroll the list if you want.
This is still very basic, but it allows us to start writing UI components and test them completely independently in a simple Playground.
In part 2 of this Playground Driven Development serie, i will show how nice Playgrounds can play with Test Driven Development.